Go to My Account > Integration and Press Configure

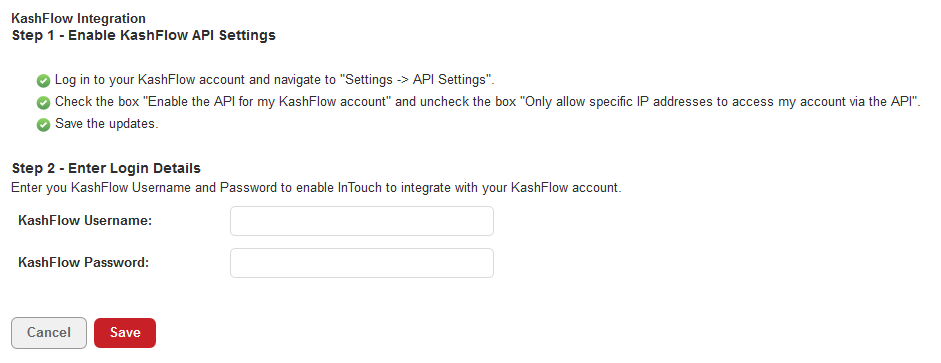
To ensure, this is a smooth integration, you will need to log in to your KashFlow account > go in to the Settings > Under External Services click on API Settings and uncheck the box for “Restrict Access” and press Update!

Go back in to our system and type in your KashFlow username and Password and click Save! The following screen will appear if you are successful in doing this:-
Now you are able to do three things:
Configure which you’ve just done, Synchronise Customers and Remove integration.
Synchronising Customers
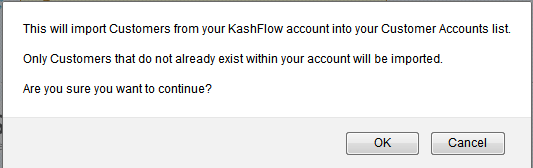
If you select Synchronise Customers, you are able to transfer your contacts and information from your KashFlow in to your account on our system. Once you have clicked this button, you will receive the following alert – just click okay if you are happy to go ahead.

Once all has been synchronised you will see an complete message to tell you how many customers have been imported.
However, please note due to the nature of KashFlow these contacts will be added in to the organisation part of the system.

If you wanted to add these records in to the system as a contact, you have two options; you could either export the information from our system that you’ve just synchronised or you could export the customer information from KashFlow.
Here are some other articles that you may be interested in: