Contact Imports
You can import “Contacts” from data that you currently have located in other programs. To do this you must create an export file from your existing program. The format of the file must be either csv (Comma Delimited) or tsv (Tab Delimited).
How to create an export file Ready for Import
This depends upon which application and file format is storing your existing data. However for most applications follow these general steps for creating the export file:
1. Launch the application and Open the data file
2. Select the Save As... or Export... menu option and give the file an appropriate name.
3. Save the file in your required format (e.g. csv or tsv). If your data is stored in a Microsoft Excel file then when you select Save As, go to the “Save as Type” box at the bottom of the pop up window. Click on the down arrow to see the various types and select either Comma Delimited or Tab Delimited.
Once the file has been created take time to review it before carrying out the upload procedure.
Upload import file
Once your import file has been created you are ready to start the upload process.(remember to create your custom fields first, if you need them)
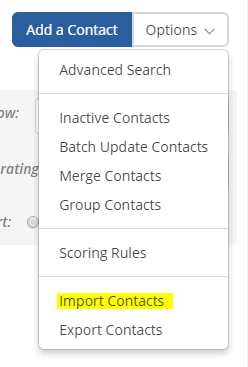
Click on the “Contacts” menu tab and click on “Import Contacts” within the Contact Options menu:
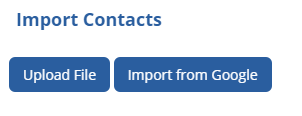
Now click on the Upload File button:
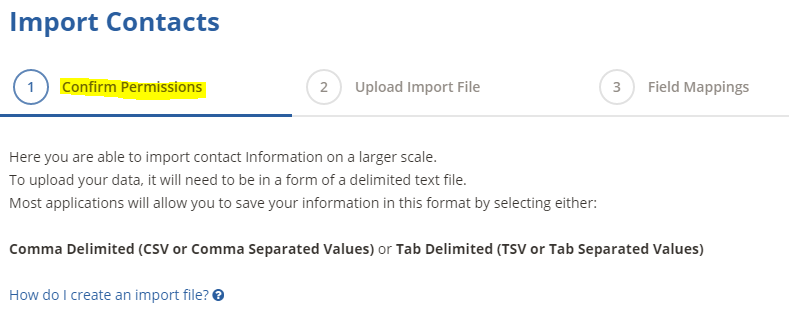
A new screen populates with the following information.
• This upload tool imports a file of contact information.
• The tool expects your data to be in some form of delimited text file.
• Many applications allow you to export data into some form of delimited text file, the most common being either Comma Delimited (CSV or Comma Separated Values) or Tab Delimited (TSV or Tab Separated Values).
As you have already created your import file, click “Next”:
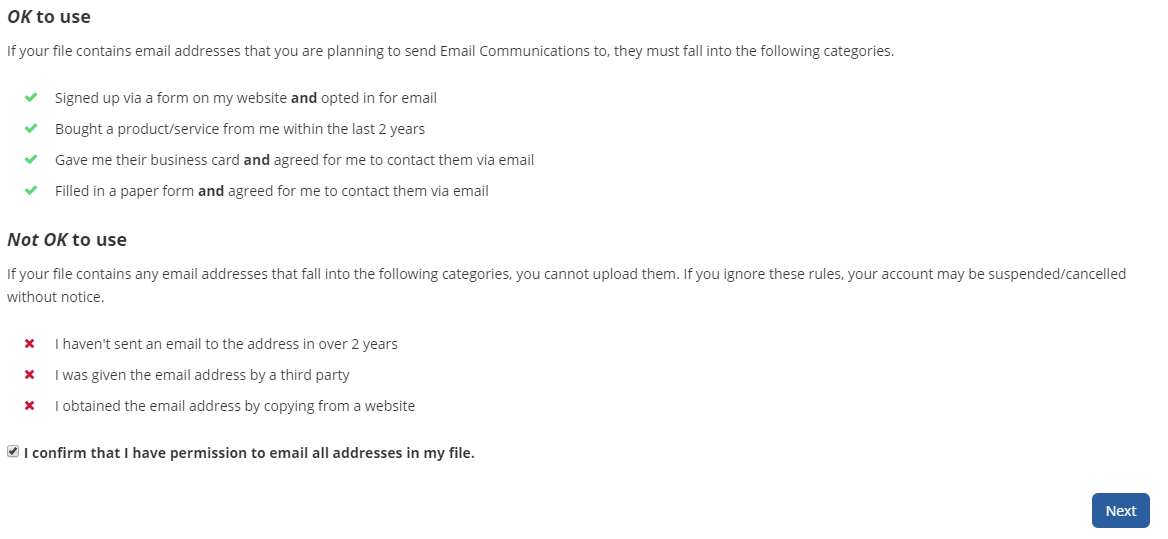
Further down the same page be sure to tick the box that says "I confirm that I have permission to email all addresses in my file." Then click on the blue "Next" button to continue:
A new window opens to allow you to search for and select your file for upload.
If your file has a Header Row, tick the box. Make sure that each of your column header titles are unique.
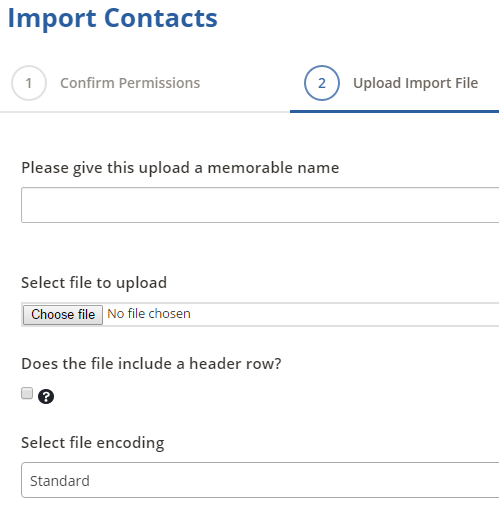
When ready click the “Upload File” button in the corner of your screen.
You are now in the 'Field Mappings' stage.
This stage allows you to “Map” the data fields (including custom fields) in your file to the data fields in your InTouch account:
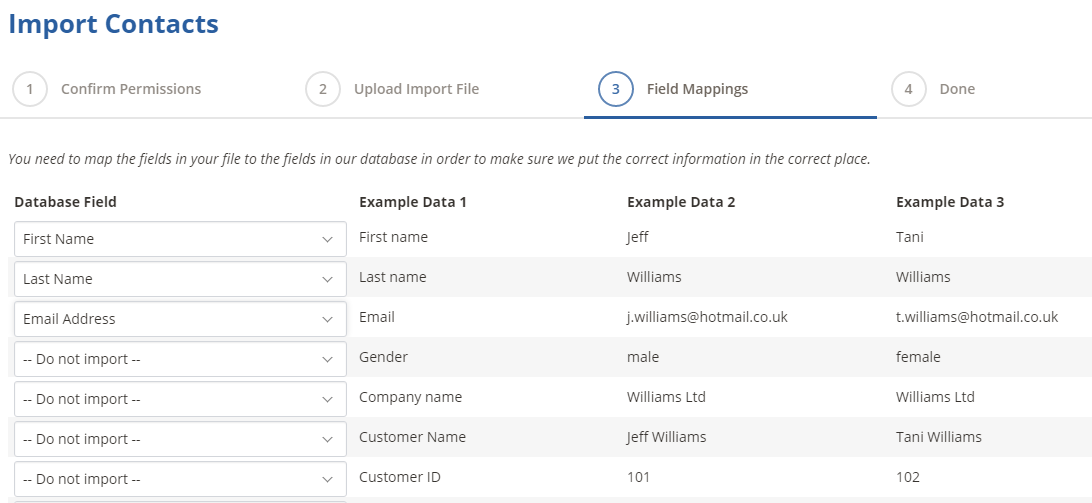
• The column “Database Field” defaults to Do Not Import.
• If your upload file has column headers, the names will appear in the “Example Data 1” column as shown above.
• The next 2 columns will show actual data from your upload file.
To map the data for Last Name for example click on the down arrow in the “Database Field” box on the same line as Last Name. You will see a list of the Predefined and any Custom Data Fields you have created. Click on the words “Last Name” and you have mapped your Last Name details to the CRM’s “Last Name" Field.
Continue doing this for all your fields which you want to map across. You do not have to map all your fields, just select those you want to bring across.
If your file has data that you do not want to import then leave the Database Field as “Do Not Import”
“Communication Preferences” will be auto-added for you.
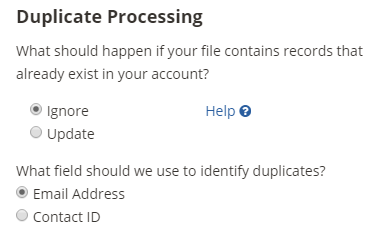
Then bullet the appropriate boxes in "Duplicate Processing". N.B. if you are doing subsequent Contact dataloads and there is any probability that Contacts may already be in your database, tick the Update radio button. Email address is the usual unique id that most people prefer to select in doing this.
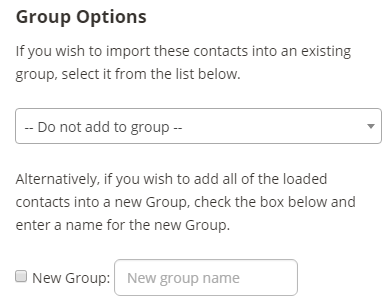
The “Select Group Option” section is an important feature of the upload procedure. Here you are able to add all the new records to a “Group”. “Groups” allow you to create targeted marketing campaigns to say Prospects, Existing Clients, and Suppliers etc.
If you have already created a “Group” you can select it by clicking on the down arrow and then clicking on the Group name. If you wish to create a new Group, tick the box and add a name for the New Group:
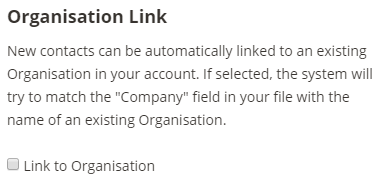
Link to Organisation
If you have pre-imported Organisations and you wish to link some or all of your contacts to those pre-loaded Organisations then all you have to do (in addition to mapping your Company name to the Company field) is to tick the Link to Organisation box:
When the above is complete click the “Import File” button.
You can opt to be emailed when the import is completed.
A new window populates with a report on the upload

Look at “View Import Log File” to see the rejected record and reasons for rejection. If necessary you will need to add rejected records manually once the reason for rejection has been corrected.
Click “Finish” on the above screen or in “Import Log File” to complete the process.
Notes!
• If any of your contacts clicks on an “unsubscribe” tag in a marketing email, the CRM programme will automatically un-tick the box for Email contact preference and add the email address to a suppression list so it cannot be included in any further email campaigns.
• If a marketing email hard bounces for whatever reason, again the system will un-tick the permission box and add the email address to your suppression list so it cannot be included in future campaigns.
• Similar situations occur with mobile telephone numbers and SMS text marketing.
If you ever need to Unload any of your imports, be warned that if you have put much contact history or related actions onto your Contacts, it will strip this out as well.Those contacts will then be placed into your Archived Contacts tab.