In this guide we highlight the great functions within our system template editor
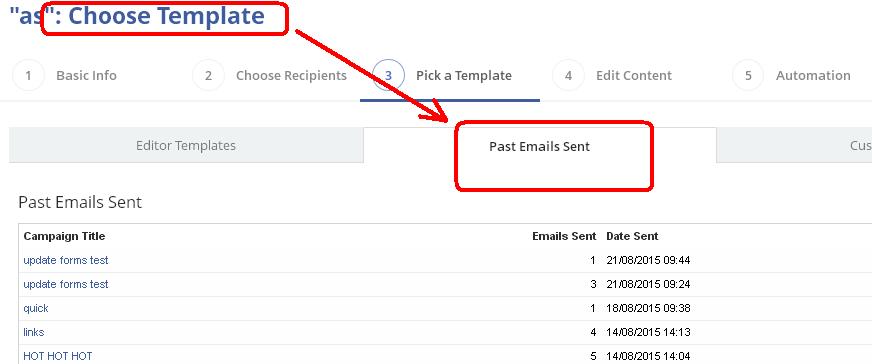
Before we begin with the detail, just a general reminder of the sometimes overlooked Past Emails Sent tab. It's on Step 2 of creating an Email campaign and it is a library of all the Email campaigns you have sent out in the past AND which can be re-cycled and used again! Once you've clicked on the past email you wish to re-use, you can proceed to Step 3 to edit further before you select recipients and send out.
[N.B. Other "libraries" you have at your finger tips are:
1) Support Tickets (closed) which build over time and which include all the advice and fixes we have shared with you.
2) Email Reports which have great feedback which you can act upon to build further your Marketing strategy]
Now back to Editor Functions:
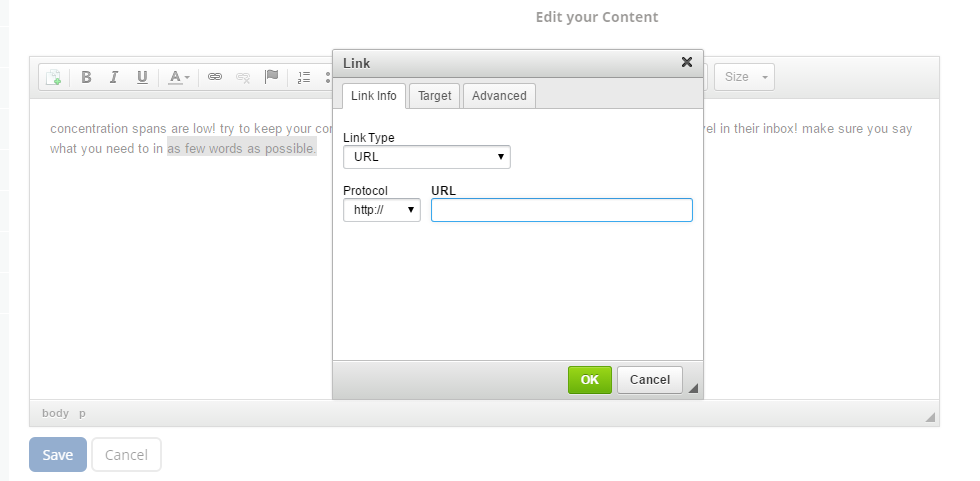
1) Add / Edit Link
The 2 most popular types of add/edit link are URL and Email. These take your readers to website pages or to compose an Email to the email address linked. It is best to highlight some clickable text in your text edit section first and then insert the URL or Email link BEHIND the clickable text. In this way you avoid spam filter traps and phishing messages appearing:
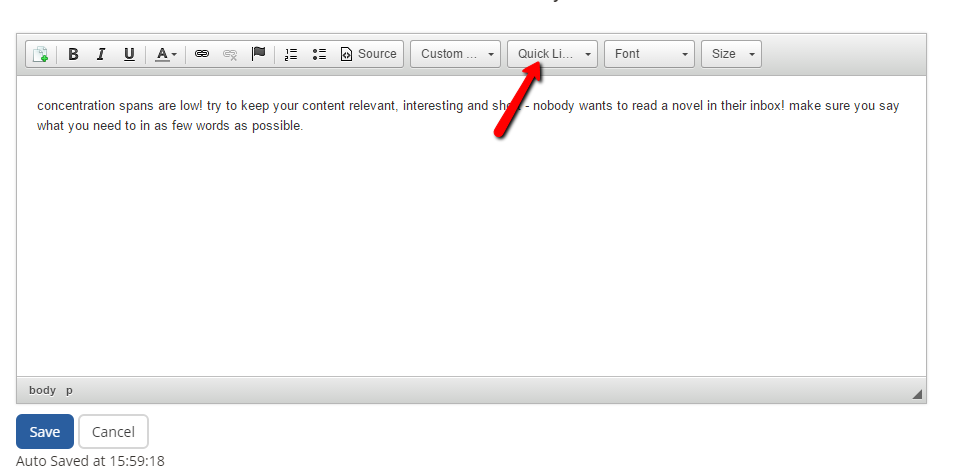
2) Quick Links:
Quick Links are are a drop-down menu in your Editor toolbar and give this great range of functions: Forward to a Friend; Unsubscribe; Update Profile; Web Version. Just to clarify that Update Profile enables your contacts to update their contact details and Web Version enables them to read your Email campaign outside their Email client inbox and via a tab in their browser.
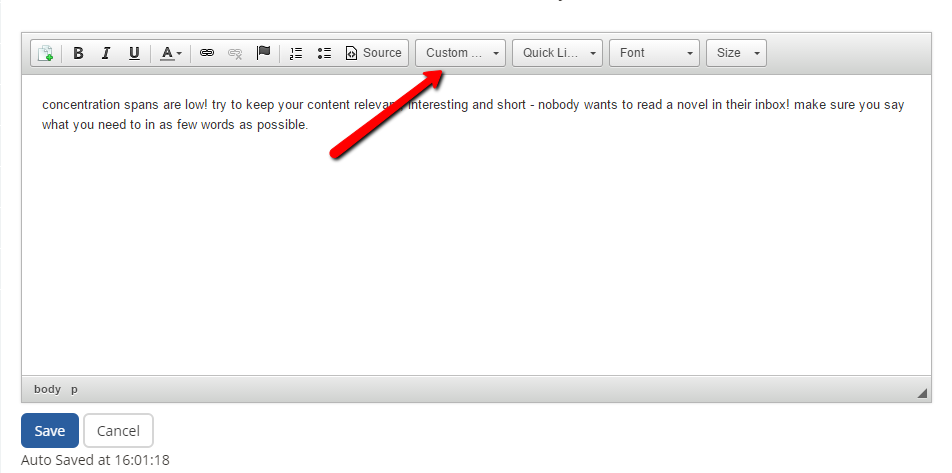
3) Custom Tags:
Custom Tags are sited in the Editor toolbar for your convenience and draw from the fields within your Contact records. The one we want to highlight here is the Add Social Links tag which when selected shows as %Social% in your edited text. This is a powerful tag and draws from the inserted information in Company Social Details e.g. Twitter and Facebook. When you send out your campaign the %Social% tag populates the email with the Icons of your social sites and inserts your social URL links behind the icons! So when your recipients click on a Social icon they are taken to your social sites.
4) Link to Documents:
This is one of the most recent and popular functions and enables you to link to documents which you have hosted on your account in: File Manager
You need to make sure that when you're adding new documents on that you remove the tick which makes them private i.e. you need the documents to be public in order to share them from your Email campaigns.
So you're now in a text editable section of your email campaign: highlight the clickable text then click on the Add File icon in the editor toolbar:
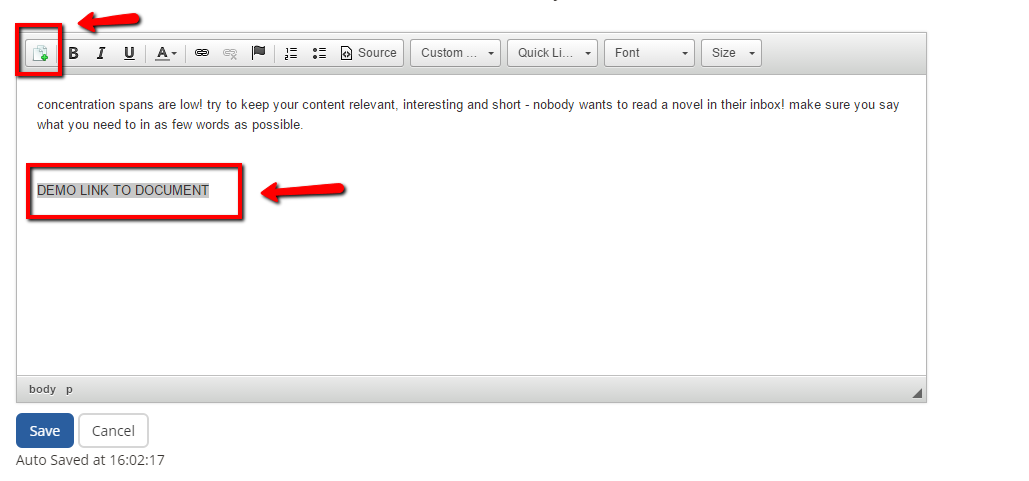
This will then bring up the list of public documents you have on your account:
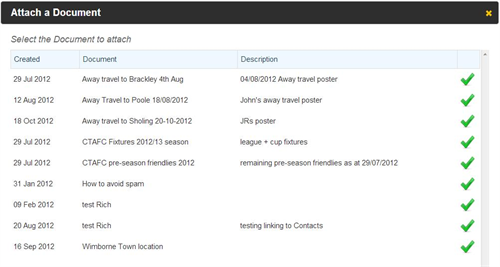
Click on the green arrow of the document you wish to link with.
When your email campaign is sent out your recipients can click on the clickable text, download the document, view the document and then print if required. If the document is not interactive then we advise you save it as a PDF when you add it via File Manager, otherwise Word would be fine for documents which you want your recipients to edit e.g. application forms.