You now have a great opportunity to create your own campaigns and templates without being a genius with html !
You now have flexibility to build your own structures, choose your own infill background colour and you have the great bonus of your templates being responsive across devices ...
Email > Create New
Step 1 Basic info
complete the basic info including campaign name, subject line and from and reply to email addresses.
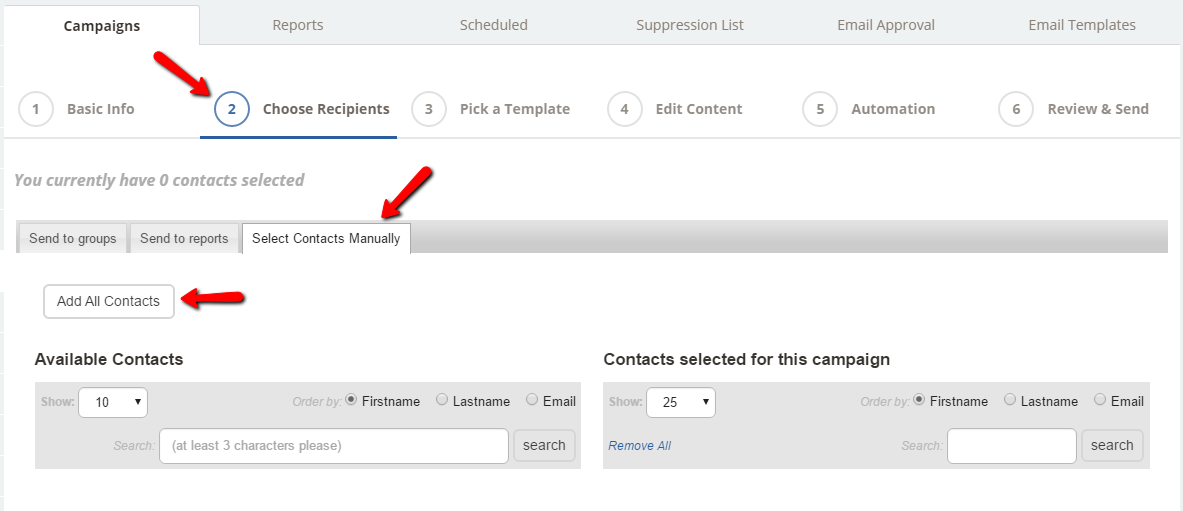
Step 2 Choose recipients

You can send to groups, reports, individuals or all contacts. Always ensure that your email contacts are contact preferenced for email. (you can always use update many contacts for groups to add that if you need to)
Step 3 Pick a template
For this guide we have chosen the Build from Scratch option but as you can see there are some ready-made templates for you to choose too.
Step 4 Edit Content
You can use the drag/drop to bring in the modules you want to build your template
When inserting your images you can insert url links behind them and take advantage of our great photo editor:
Within each article you have the editor toolbar with all our usual editor attributes to use:
When you preview your campaign you can see the responsive versions:
and send a preview test out to check:
You can Save your campaign and also have the option to Save as template (which will save your template into My Templates
Step 5 Automation
You can build clickable links into your email that when clicked take your recipients on to another automation and/or when your email is opened to do likewise.
Step 6 Review & Send
You will see your campaign summary and then have the option of either sending immediately or scheduling for a future date/time:
not forgetting that when you integrate with Buffer you can post your campaign e.g. to Facebook, Twitter...
If you would like to see our Drag & Drop Email coaching video please click here now!
