Managing and keeping customer or contact data up-to-date is always a difficult thing to do - people moving departments, jobs or even email addresses, having an up-to-date system is a full time job in itself. One of the features within the system that can make this job easier are the Update Forms.
These forms are fully customisable and can contain any fields that you want to allow customers to update on their own. You simply build the form and then email it out which allows contacts to update their information - hey, why not let them do the hard work themselves.
To create one of these, all you need to do is go to Automation and click on "Update Forms"

Now to start the process of creating an Update Form, just click "Create an Update Form"
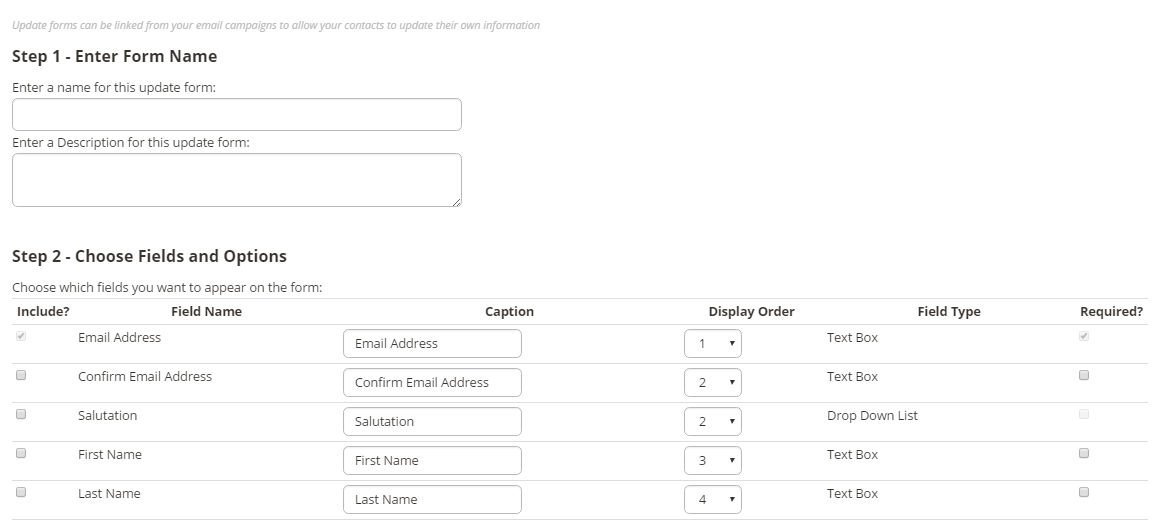
Here you will need to give it a reference name and select the relevant fields you wish to add by ticking those in the "Include" column.
Remember to tick those fields which are Required (i.e. mandatory)
Another great aspect that we have added to Update Forms, is that you are able to customise the look and feel of it. So.... it is from this section that you can customise the background colour as well as upload a logo that you want to use.
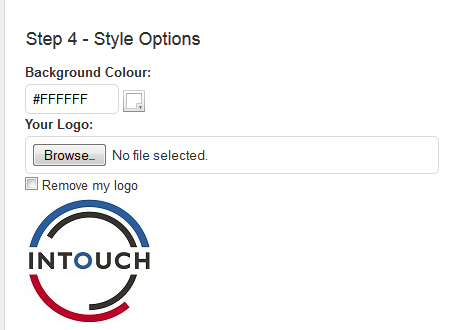
To change the colour - just click on the colour square and select which one you would like.
To add your logo - click on "Browse" and select the logo that you wish to use.
Both of these will customisations will appear on the Update Form when you send it to your customers.
Once you are happy, just click "Save"
So now, you have created an update form all you need to do is select which one would like to use and add that to an email campaign.
Using our Drag & Drop Email editor:
When your cursor is in position within a text section of a module, go to the Tags menu in the toolbar and select the name of your Update Form:
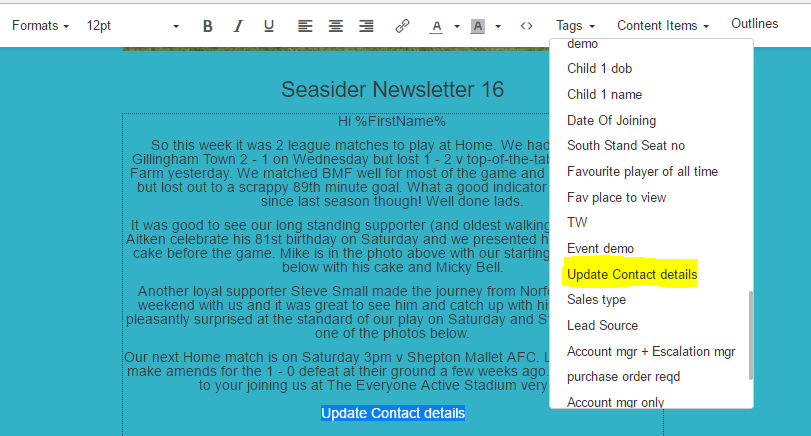
This will then place your Update Form tag in position ready to send:
When you send your email campaign out your contacts/recipients will be able to click on the link and then edit their contact details!
Using our System Email editor:
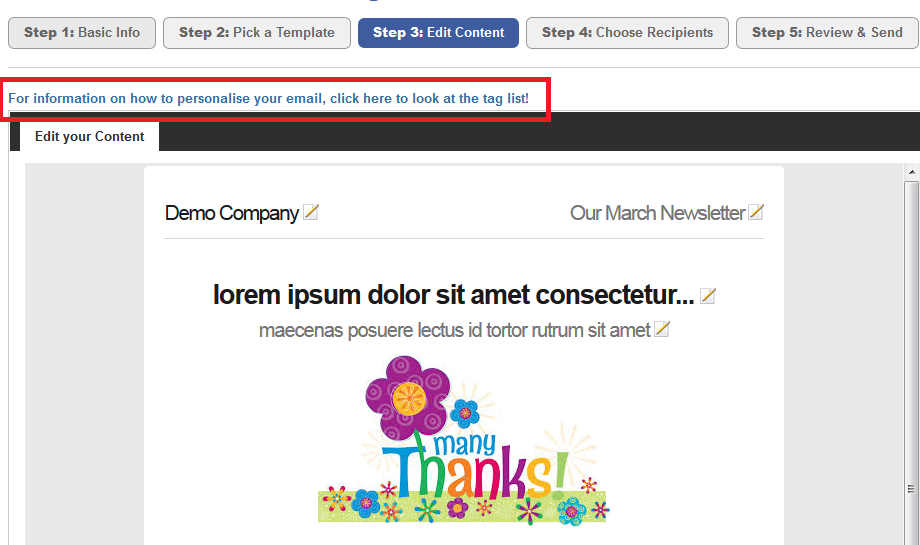
Go to Email > Email Campaigns and press "Create New" - you will need to follow the usual steps and when you get to "Step 3: Edit Content" you will need to add the right Custom Tag to ensure that the link is there for your customers to click on. Our first example below is when using our system editor:
To find the right tag, all you have to do is click on this link highlighted in the picture to the left and you will find it under Update Form (an example is shown below).
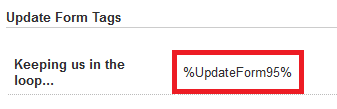
This is the tag, that you need to copy in to your email campaign to send the link out to your customer, you can either embed the tag behind some text or leave it as a URL link that your customers need to click on.
How to embed the Tag
We always suggest to add links behind text as these not only make your email look a lot neater but they also decrease the likelihood of phishing alerts.
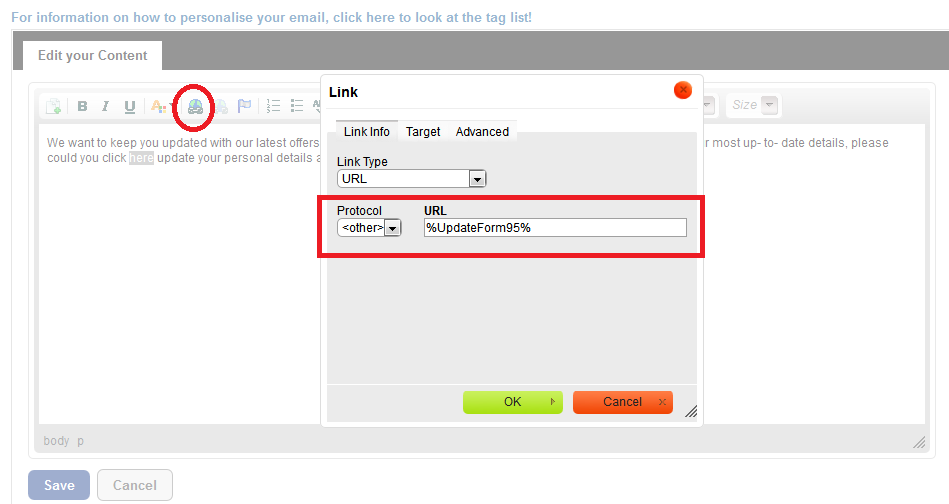
To do this, just simply highlight the relevant text, click on the Link Button ... select Protocol as other and paste your tag within the URL part of the window. So all your customers will have to do is click that link and fill out the information.
How to just add that link
If you wish to just send the Update Form to your customers, all you have to do add the Custom Tag to your email and send it. Here is a preview of what it will look like when your customers receive it

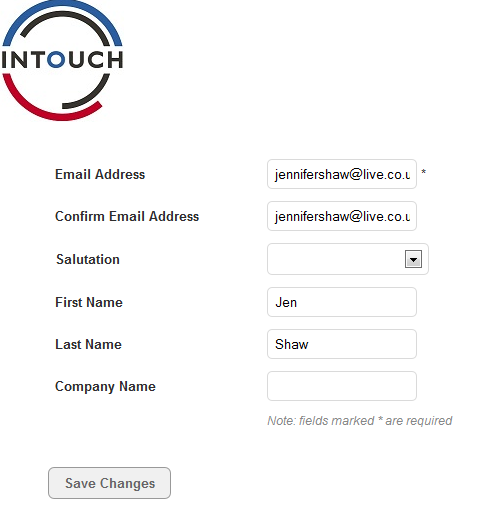
Whichever way you have decided to send this update form, when your customer or contact clicks on the link they will be taken to the customised screen with the settings which you selected with the last steps of creation. Here is our example shown below:-