10 Minute Video Tutorial
The InTouch Drag and Drop Editor
At the start of 2016, we launched a brand new email editor which gives you a completely new experience when it comes to building your important email newsletters, marketing and customer communications.
The 'new' email editor is based on a very simple, yet powerful drag and drop principle. Allowing you to build the email layout you want and more!
So here is how it is done:
To start building your email, you simply go to Email on the left hand menu and this will open up the screen below with your draft campaigns.
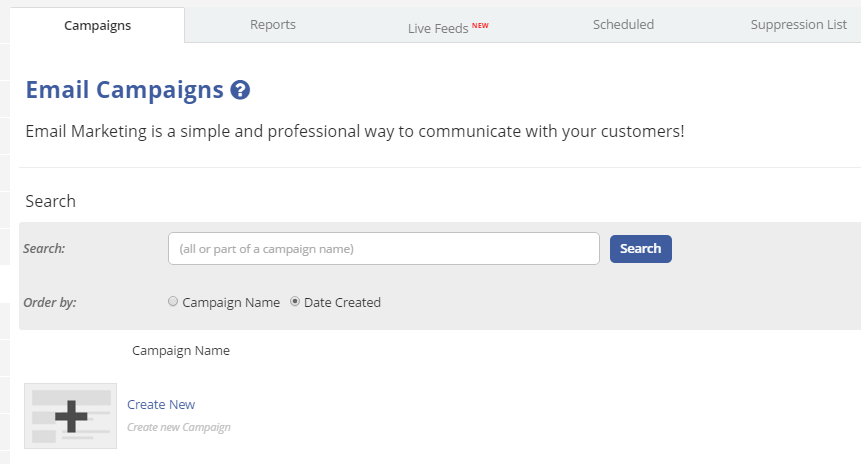
The first thing you will notice is a simple “Create New” option in your list of campaigns. Clicking on this will start the process to build a new campaign, with a difference…you will have the option to use the new editor!
The steps to build the email remain the same, from giving it a title and campaign name, through to selecting which approved email address it will come from.
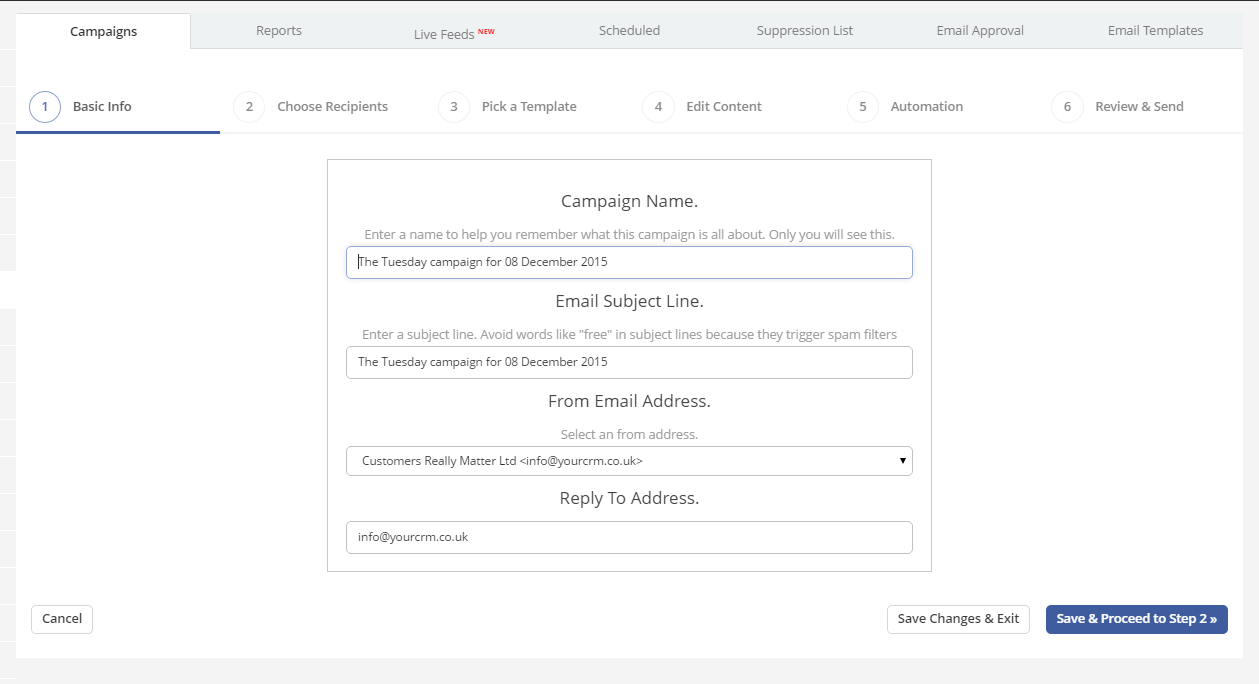
One new addition we have made is the default naming of the campaign, which will now pull in the date of the campaign in for you. You can, if you want, simply click into this and edit it as normal.
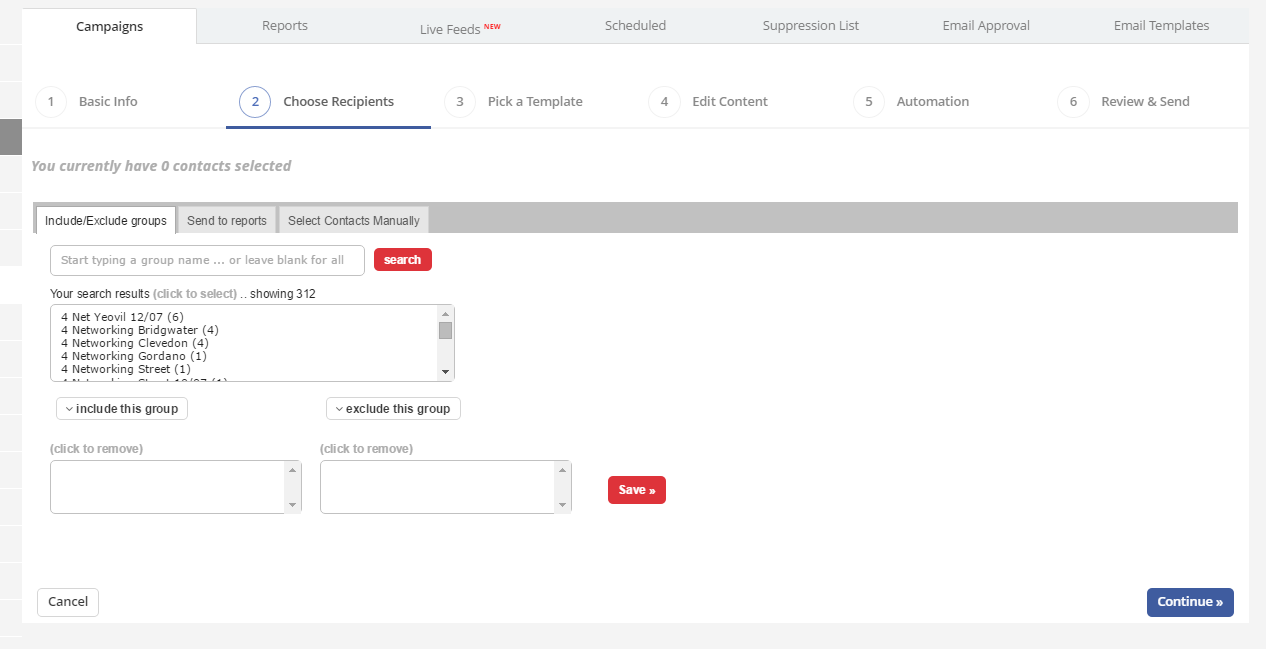
You then get taken through to the steps to select who you will send the email to and you get the options to send it to groups, individuals and event reports which you have created in the system. Once you are happy, save them and proceed to the next step.
This is where you really start to see the changes, at the moment you can still access the old editors but by selecting # new drag & drop editor templates, you will see the option to not only build an email from scratch but pick a template that has already been added to the system.
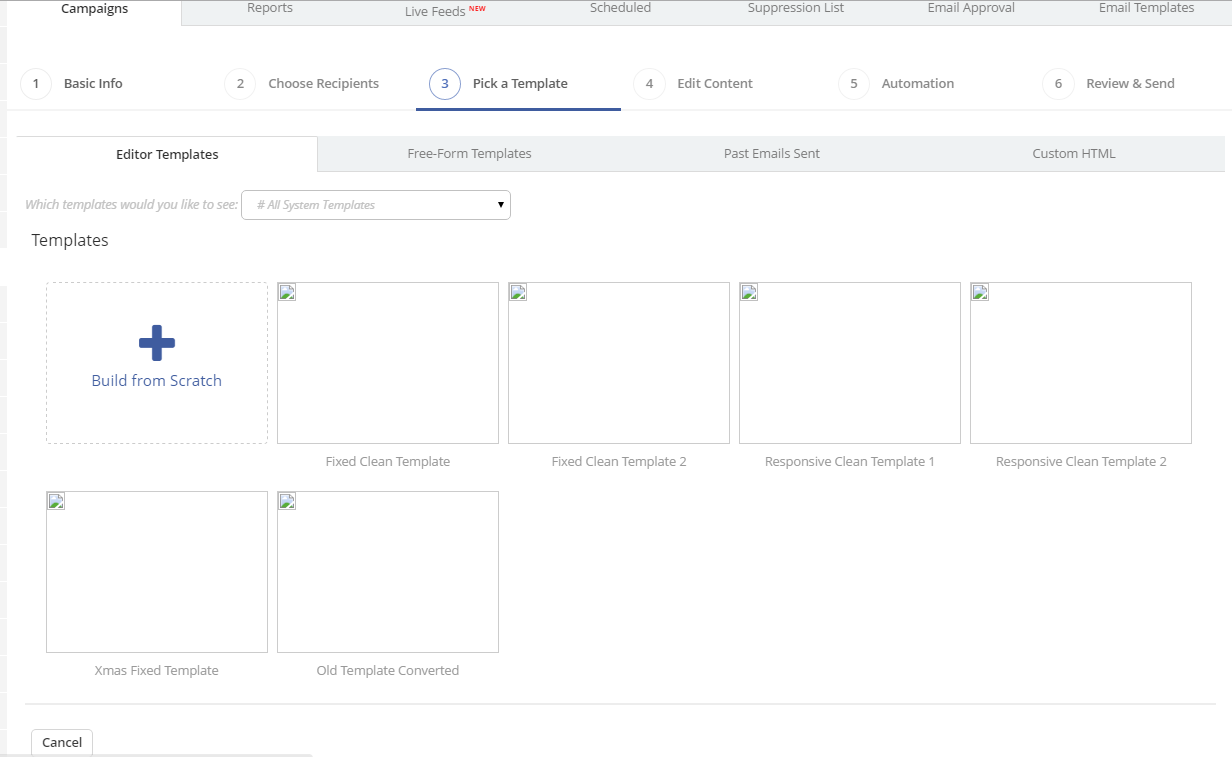
Clicking on the option to Build from scratch will take you through to the drag and drop editor!
At first, if you haven’t picked a template the editor will appear fairly blank, with the new left hand navigation and the options of the different modules.
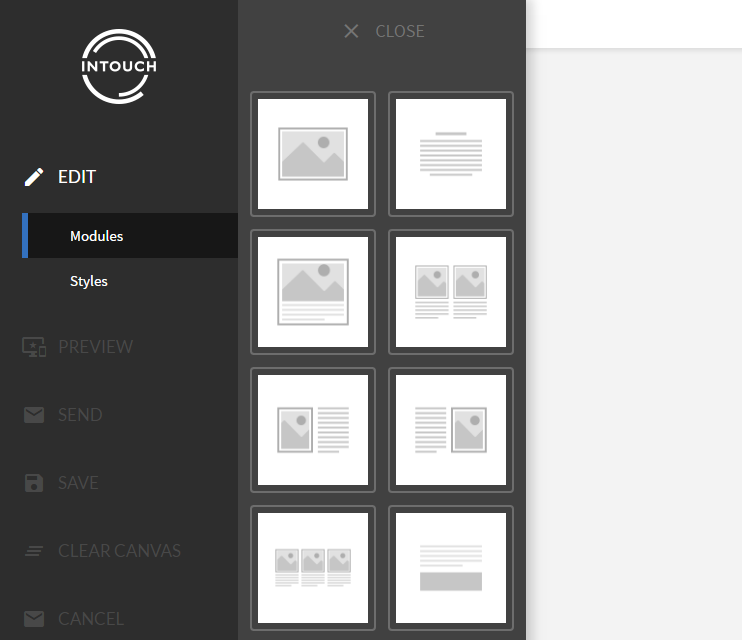
It is from here you can simply and easily click on the module you want and drag it over to the right hand side to start the process of building your email campaign. These modules include ones with image(s) and text, text only, banner image only and a range of footer modules.
This will allow you to ultimately structure your email with the layout that you want, incorporating images and text to get that perfect blend.
With the new editor, we have changed the way a few of the processes work, with images getting far more functionality than ever before. To replace the image you can simply click on it and then click on the middle icon (an upwards arrow) to get the screenshot below (Upload Image)
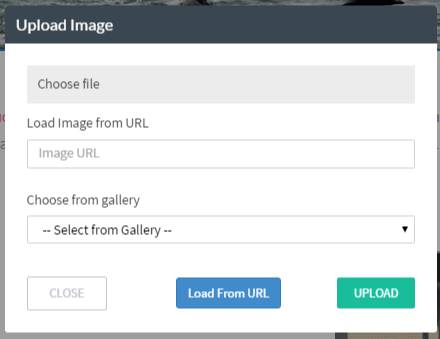
Here you can either find a file on your computer, add a URL for the image you want and you’ve got hosted elsewhere or even select an image which you’ve previously uploaded to your gallery.
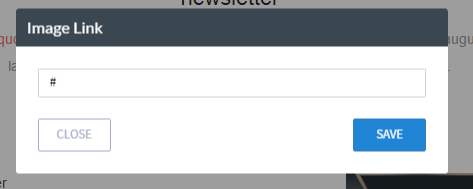
Once it’s there, you can then click on the link icon to add a link behind the image as a call to action, etc.
The biggest change to images is the new inclusion of an image editor. This puts the power to edit the image in your hands, from adding effects to enhancing the image you want to use.
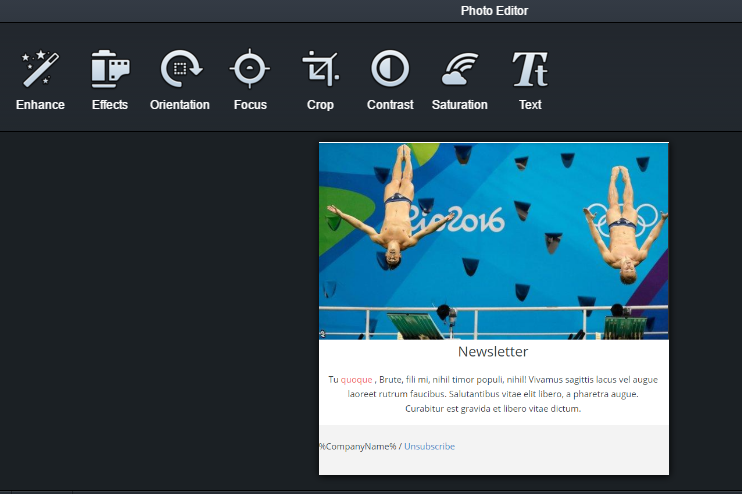
Once you’re happy with the image, you can simply click Save and your image is now altered and ready to go for your campaign!
The main menu on the left hand side of the email editor, besides giving you access to drop and drag your various modules into the email, gives you the ability to do so much more!
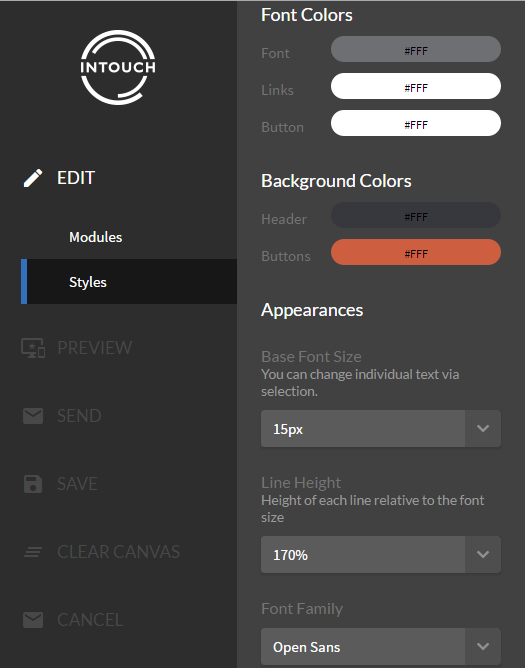
The first option after the modules is the styles. This will allow you to edit the colours of the email, from the background to the buttons and even the fonts. This will affect the whole email so that you get the consistency throughout.
The new options also allow you to change the font styles used, allowing you to keep them on brand and again keeping that consistent approach.
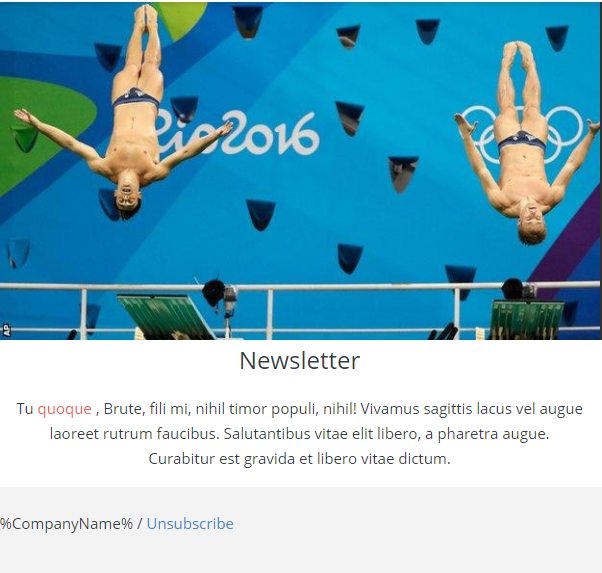
The inline editing does allow you to override this when editing the text sections of the emails. To edit these sections, simply click on the text and start typing, it really is that easy! As you can see from the screenshot below you can change the font size and type, add bold/italic stylings, edit text colour and text background colour and insert links (including to documents) and tags – making it much easier to customise the email.

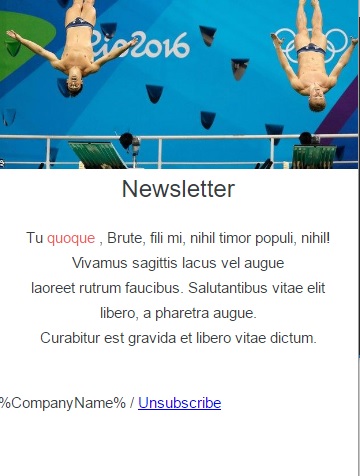
The left hand menu also has some hidden gems in there, such as the Preview option. This allows you to see what your email will look like in different devices, as each of the modules is responsive which means that it now gives you far more reach with mobile technology
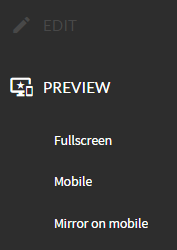
By clicking on the Mobile Option, it opens the preview which allows you to get a real feel for what your readers/contacts will see – allowing you to make the best email possible for all devices!
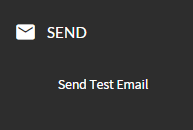
We have retained the Send options at this stage in the design process, allowing you to send a test email to yourself, so you can double check it. The email addresses available to send to are your Email Approval emails (Email > Email approval)
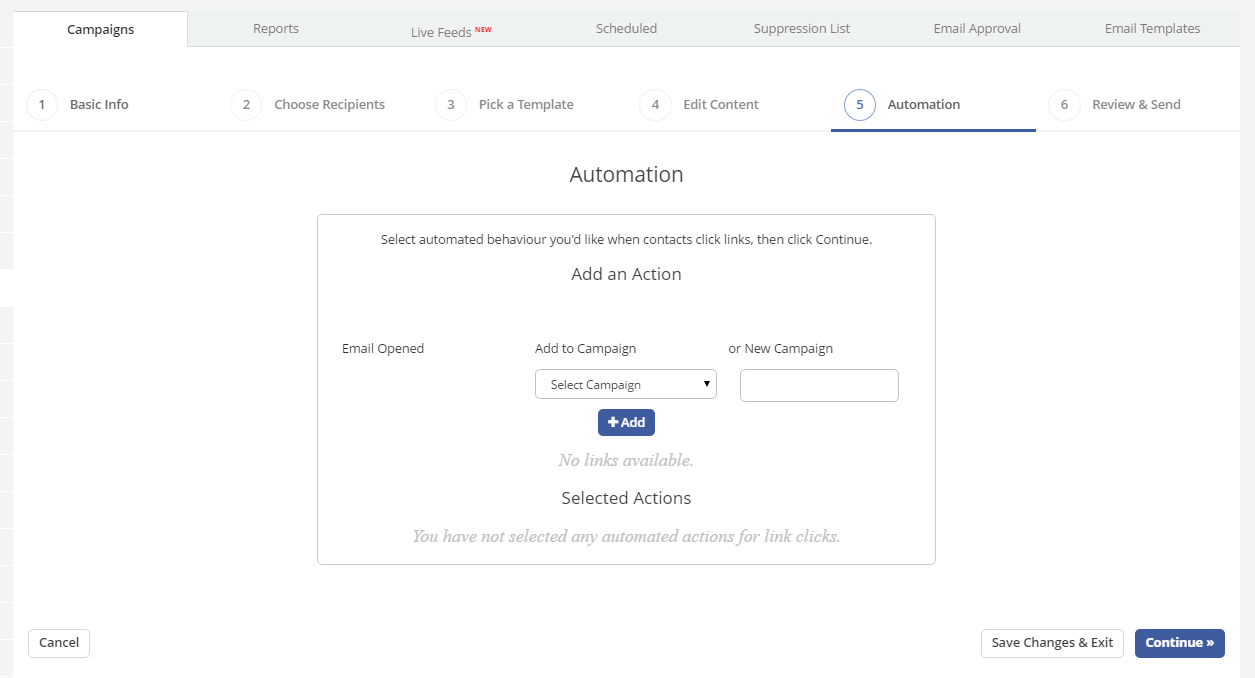
Once you have made the perfect responsive email, you can then attach automated actions to the email, in the same way as the current campaign builder works. Allowing you to add people to automated campaigns and to help nurture them further based upon their actions.
Finally you can send the email with all of the normal trimmings of social media, etc. The sending options include to send straight away or to schedule at a future date/time. Once sent you will be taken to the report for that campaign in the normal way.