If you need to create a KashFlow invoice, you are able to through our system.
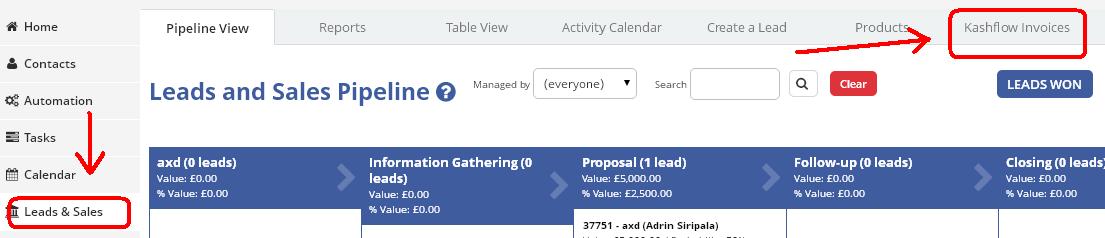
All you have to do is go to Leads & Sales > KashFlow invoices and Click on Add invoice
Then all you will need to do is select the company you need to create an invoice for and the dates.
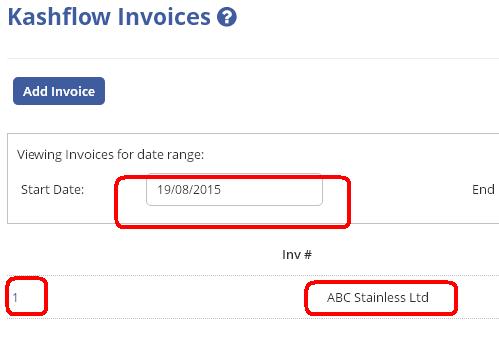
Once you are happy with the information you have selected, the invoice is created.
This will then take you to the invoice page where you will be able to fill in the specific information regarding that invoice you need to raise.
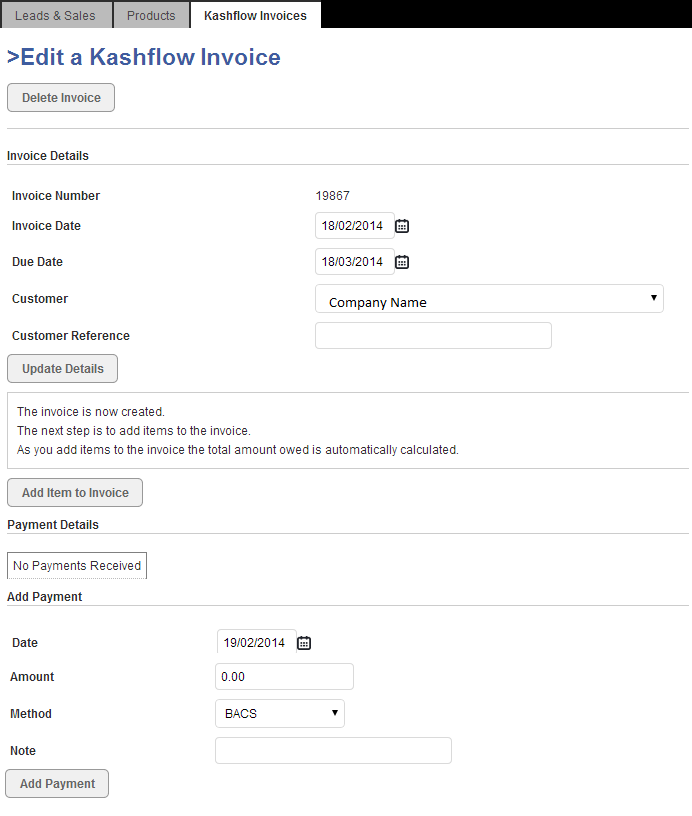
The invoice details section, all you have to do is select the right dates by either entering in the information or clicking on the calendar function.
If you need to change the Customer, just click the drop menu to bring in all of your organisations to allow you to select the right one.
Once you are happy, press Update Details.
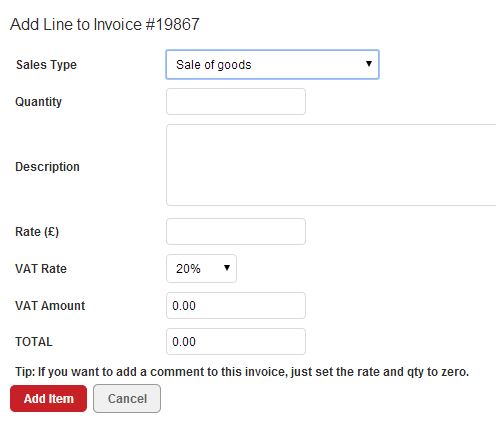
Now you will need to add in the items that you wish to invoice your customer for, to do this just click on Add item to Invoice and enter the relevant information and when you're happy just click Add item (Please see diagram below).
Then when you are happy with the information you have selected, all you need to do is create a Payment.
Please Note
Once you have created and started to enter all of the information to generate your invoice in to the system, it will automatically save the information for you.