This guide aims to drill down into some detail and purpose to enable you to choose and action the correct report for your end goal.
We have chosen a Custom Report and this example shows a scenario of needing to ensure that all Contacts with a valid email address are contact preferenced for Email.
Step 1
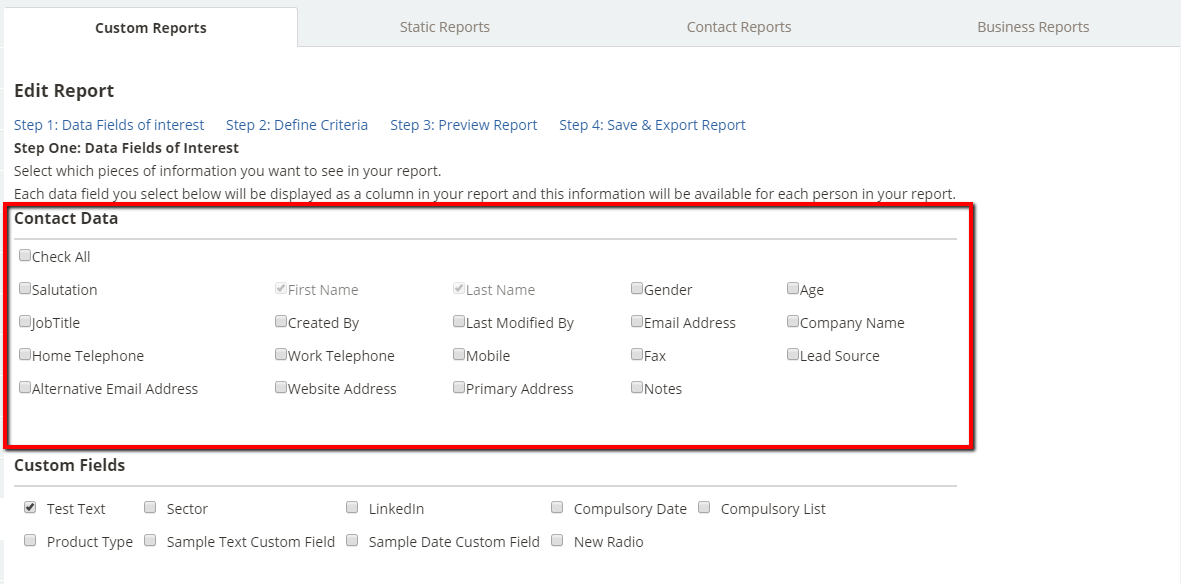
Select the minimum number of Contact Fields to achieve your goal. In the screenshot below only 1 field is selected (Email) in addition to the default fields of First Name and Last Name:
Step 2
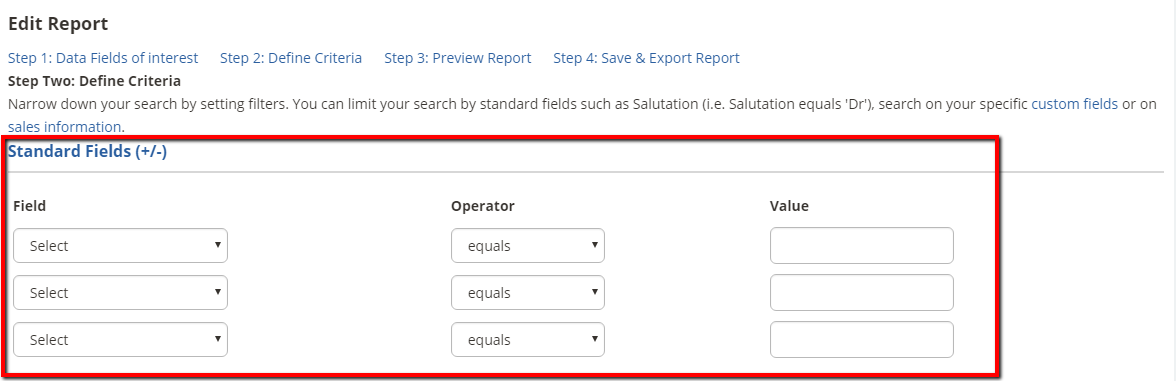
On Step 2 you have the opportunity to filter further your fields if needed, e.g. City > Equals > London. If you don't need to filter these fields to return 'everyone', just leave them blank.
Step 3
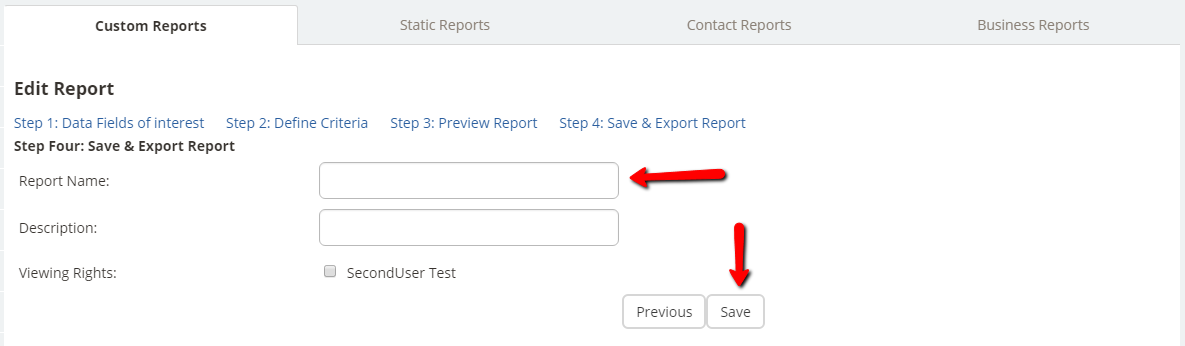
When entering a Name and Description make it meaningful and distinctive in order to differentiate it from all your other Custom Reports listed:
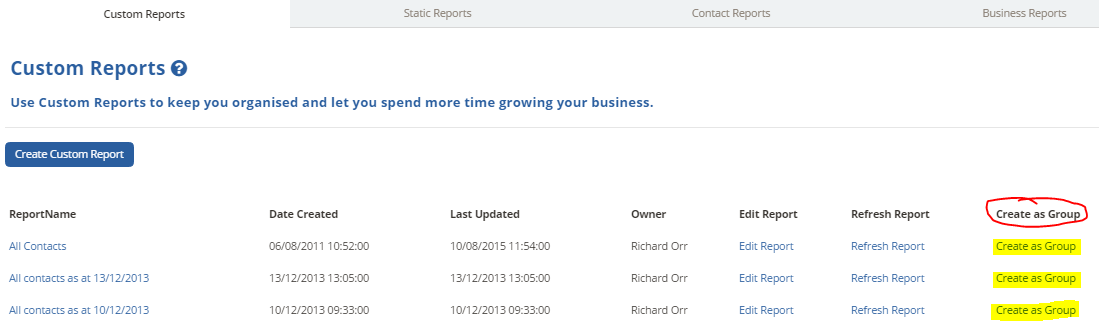
Step 4Once your report has run and saved, go back to Reporting in your main menu and you will see your report listed:
Step 5
This now gives me the opportunity to create a group from my report by clicking on the Create as Group link (as shown above).
Why do I need to create a group for this? That is because you want to action an Update Many (batch update) in order to contact preference your contacts for Email. Update Many can only work with Groups.
Having created this group from the custom report, you can now proceed to actioning the Update Many for Email contact preference, which was your goal at the beginning.