So you have uploaded your Mailmerge Template in to the system, now all you need to do is create the campaign to send to your customers.
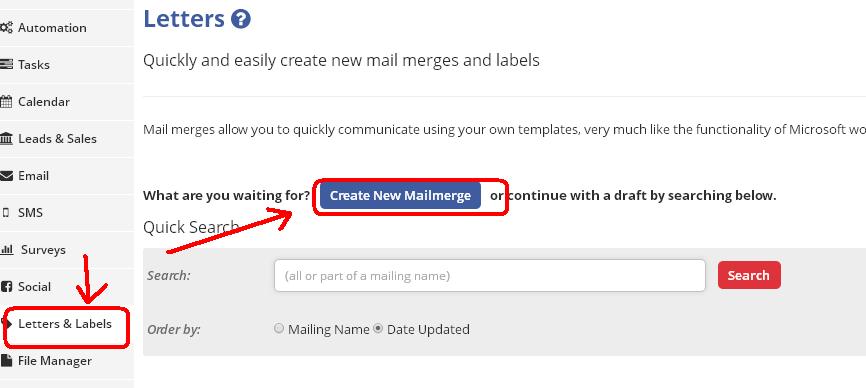
Go to the Letters & labels and click Create New Mailmerge
Here you will be able to select the relevant template that you have uploaded in to the system.
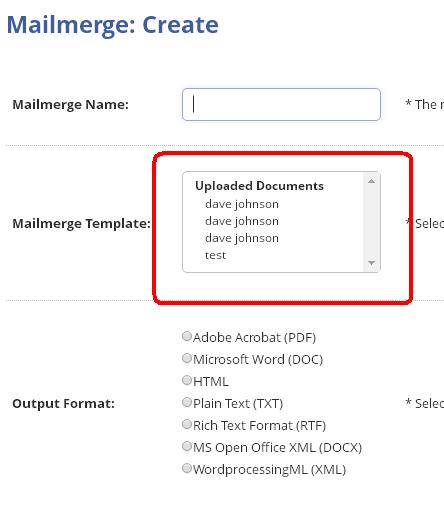
If you are unsure about what to select for the in Output Format, the most commonly used are PDFs and DOCs.
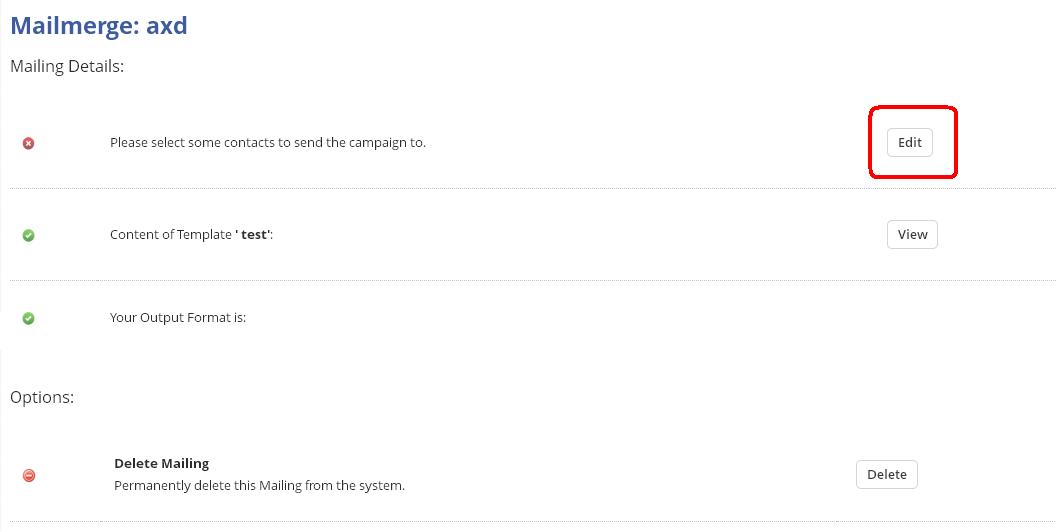
Once you're happy, you will need to either select to send to contacts or groups. Click on the 'Edit' button to select either contacts or groups.
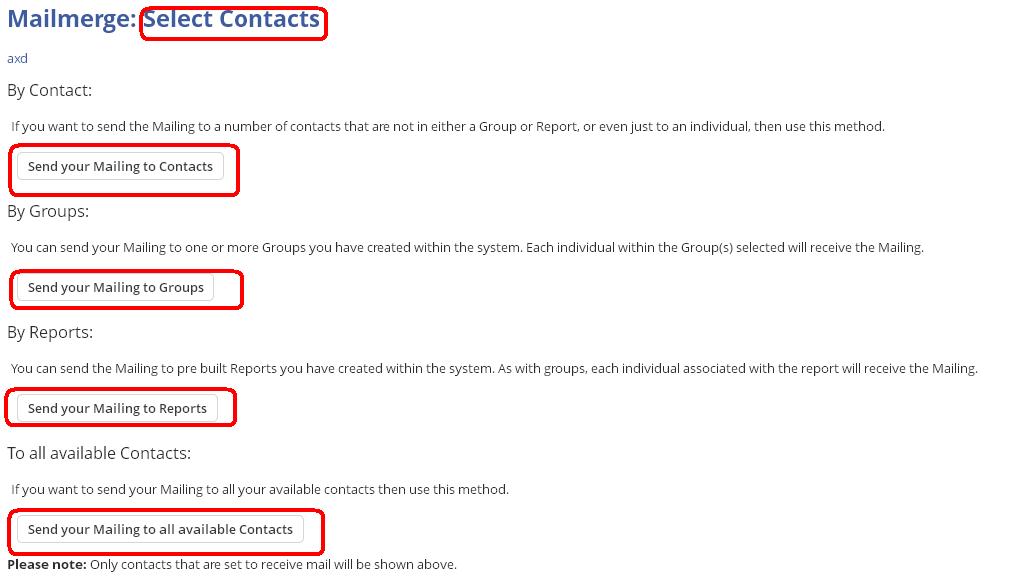
Then on the next page you can make the selection of your choice.
Once you have done that, only contacts that are set to receive emails will be available for selection. This will be shown on the box on the left. Once the contact is selected by ticking the box, the contact name will appear on the box on the right. As shown below.
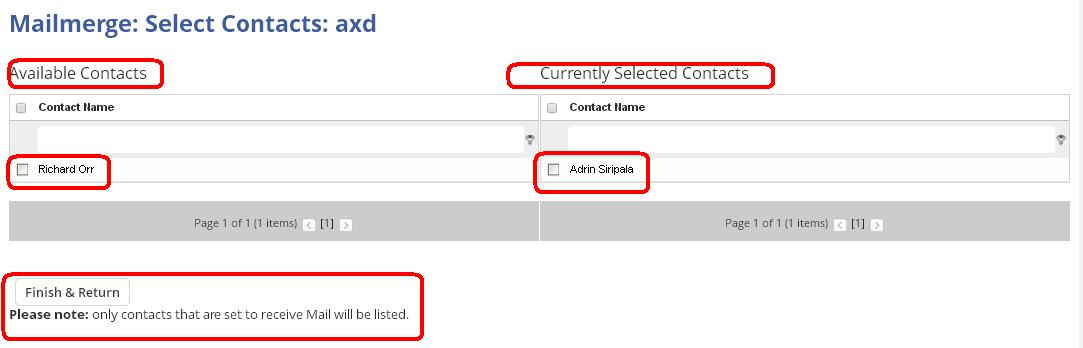
Once the contacts selection is completed, simply click on the 'Finish&Return' button to complete the process.
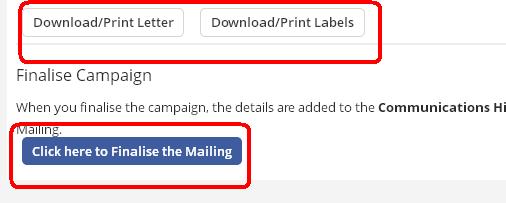
So once this has all been added, just press Download/ Print Letter and once all letters have been created. Just press Click here to Finalise Mailing (this will add the transaction as a Communications History to all of those Contacts you have selected)!
A Friendly Reminder
If your contacts aren't appearing that you want to send the mail merge to - the most common reason is because Communication for Mail has not been selected and added to their contact record. (Please refer to Helpful Hints series: Contact Preference)